View the whole notebook: https://github.com/mattclifford1/IQM-Vis/tree/main/dev_resources/docs/notebooks/Tutorial_1-making_the_UI.ipynb
Tutorial 1: Making the UI
In this tutorial we will go through how to launch the default UI. This includes all theh metrics and transformations provided by IQM-Vis. Settings and images can then be changed from within the UI if required.
To launch the UI all we need to do is import the packge and call the make function:
N.B. You can run this from a notebook but it recommended to copy and paste this as a python script.
[ ]:
import IQM_Vis

IQM_Vis.make_UI()
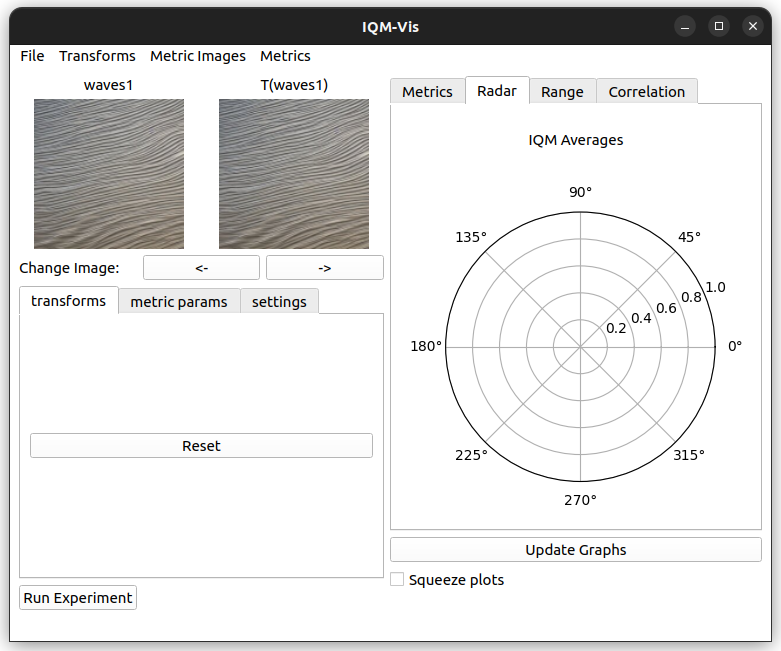
This will produce a blank UI with a default image.

Adding transformations and metrics
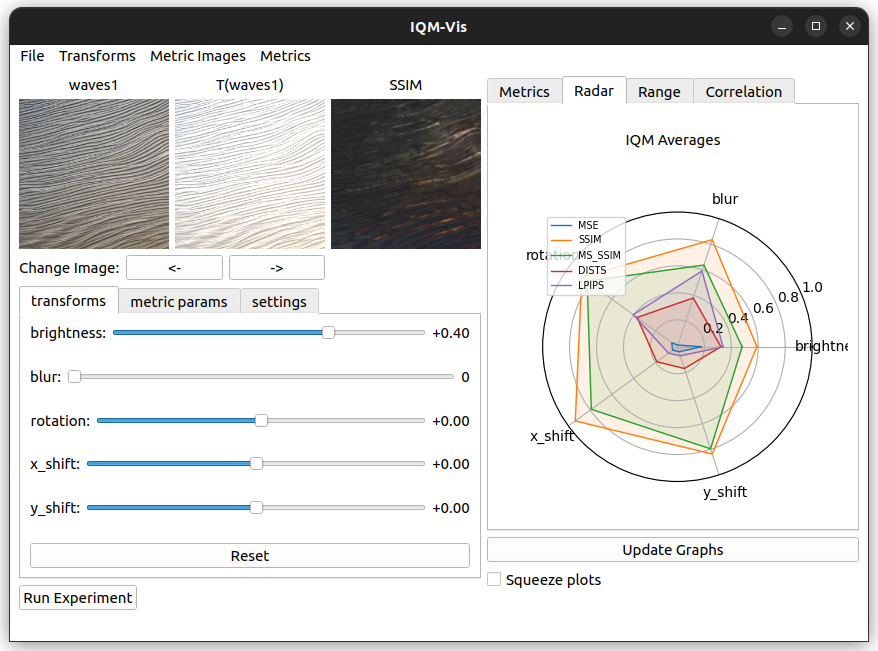
Use the menu bar items to add default transformations and metrics.

Loading your own images
To add your own images, navigate to File>Load New Images. You need to then select a directory that contains only images.
Settings
In the settings tab we adjust some of the display and image settings. N.B.: you have to click ‘Apply Settings’ for any changes to take place.

Image Pre Processing:
function to apply to the image before any transformations or metrics e.g. making the image smaller
Image Post Processing:
function to apply to the image after any transformations but before metrics e.g. cropping the images to before black boarders from an image rotation
Image Display Size:
Size of the image in the UI
Graph Display Size:
Size of the graphs in the UI
Graph/Experiment Step Size:
Number of steps used when calculating transformations over their parameter range for range graphs and experiments. E.g. a paramter on the range [-1, 1] with 5 step values would use the range of parameters: [-1, -0.5, 0, 0.5, 1]
RGB Max Brightness:
The luminance value corresponding to the maximum RGB value (1, 1, 1), measured in candelas per meter squared
Dispaly Max Brightness:
The luminance value corresponding to the maximum brightness the computer screen can produce, measured in candelas per meter squared
Other Settings
N.B. to change the save project folder go to File>Set Save Folder